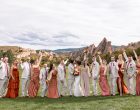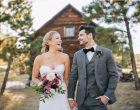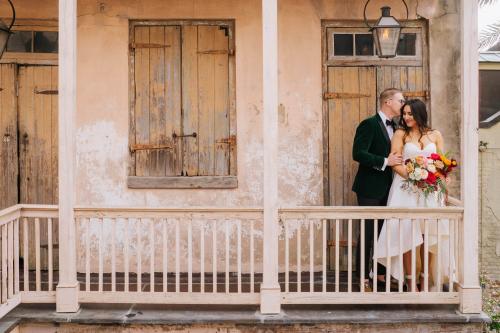
One of our main goals at Elevate Photography is to provide you with images that you will be proud of for many years to come. The process of editing photos and making them look their best has become a much bigger part of the photography process in the digital age. It has also made the process more complicated and we want you to understand the steps we go through to get you amazing images.
Culling
The first thing we do is cull the wedding. This is getting rid of all of the images that are unusable or duplicates. During a wedding day with two photographers, we are taking an average of around 300 images per hour. That is a photo every 20 seconds all day long! With that many images, you are bound to have photos that feel like duplicates or just don’t come out. You are hiring a professional because we nail more photos than we miss, but we aren’t perfect and technology isn’t perfect either. Some examples of photos that don’t come out for technical reasons are an out of focus photo, a photo with too much motion blur or an unproperly exposed image. We are also photographing real people that blink right when we take the photo or may not always be happy with that awkward photo of an unflattering angle or their awkwardly open mouth during a conversation. We want everyone that sees the photos to be excited about them and not ask “why did they take that photo of me!”. We never want you or your guests to be embarrassed.
We never limit our numbers and will always provide any photos that “come out” during the wedding day. We also don’t want to take the chance of a poor image getting printed, so for this reason we do not provide all of the original files. Part of why you are hiring us is to go through all the images for you (it takes hours). We want you to be happy and will always work as hard on making the best selections possible as taking the pictures themselves!

Editing
After culling, the photos go to our production artist for the editing stage. We spend about a day of work editing the average wedding. Most of this work is done in the software program Lightroom. There are many things we do at this stage to make the photos look good and consistent. Here are the general steps:
- Temperature & Tint – Getting the colors right (also known as color balance)
- Exposure – Getting the brightness of the image correct
- Contrast – Increasing or reducing the contrast of the image to make it look its best
- Highlight Recovery – Getting as much detail in the highlights as we can. This is used a lot for items like the wedding dress
- Shadows/Fill Light – This brings information back into areas of the photo that might be “dark”. Like a face in shadow.
- White/Black Clipping – Making sure there is information in both the whites and blacks of the image (this allows for higher quality printing).
- Tone Curve Adjustments – Getting the overall tone of the image accurate to what was actually there (cameras don’t see as well as our eyes and so we try and recreate what our eyes see as closely as we can).
- Noise Reduction – When photos are taken in low light at higher ISOs noise is created. We have tools that reduce this effect and make the image look better.
- Basic Spot Removal – Removing items such as dust on our lens or camera sensor.
- Basic Dodging/Burning – Darkening or brightening specific areas of the image to make it look like more even lighting across the image or draw attention to specific areas of the image.
- Cropping – Cutting off parts of the image to get rid of distracting elements in the photos and to sometimes create a better composition.
- Straightening – Changing the angle of the photo so that it doesn’t look like things are falling over.
As you can see we do quite a bit in the editing stage and these are the photos that are given to you as hi-res digital files and to show your friends and family your wedding photos.

Retouching
Retouching is when we actually go into individual photos and manipulate the image. Most of this work is done in Photoshop and takes a higher degree of skill and experience. At this stage, there are many things that we can do but some of the most common are:
- Removing objects – This is the most common retouching done. We will remove things that are distractions in the image like stray hairs, blemishes, a stop sign in the distance, divots on a golf course, a sun flare in the wrong place, etc.
- Manipulating the body – This is usually reducing a “double chin”, slimming a tummy, etc.
- Replacing body parts – This is typically used to make sure everyone has their eyes open in photos. We will take their eyes from another photo where they are open and replace them.
- More detailed Dodging/Burning – See above.
Retouching is not included as part of our wedding packages. We will do retouching without any additional cost on any images that are used in albums that are ordered directly through the studio. If you want to order the albums and prints yourself or through our online ordering, we charge $49/hr for retouching services and will provide the edited hi-res digital file for your use. We will always give you a quote for your approval before we start the work.
We want you to be proud of the photos you hang on the wall or put in your wedding album and not get distracted by that stray hair every time you look at the image. For this reason we recommend retouching for any images where you see things you would like to have changed and plan on displaying for many years on the wall or in an album.
We put a lot of time and care into the culling, editing and retouching of your images and want to do everything we can to provide you with the best. It is crazy, but we put more time into these stages than we do actually taking the photos! We hope this answers all of your questions, but if you have any others for us, you can always contact us at info@elevatephotography.com.